As cryptocurrency adoption continues to grow, so does the importance of keeping digital assets safe. Unlike traditional banking systems, crypto ownership places full responsibility on the user. This is where hardware wallets play a crucial role. Ledger, one of the most trusted names in crypto security, provides a simple and secure way to protect your assets. The official setup portal, ledger.com/start, is the first step toward taking full control of your crypto holdings.
Ledger.com/start is the official onboarding page designed to help users safely set up their Ledger hardware wallet. Whether you own a Ledger Nano S Plus, Ledger Nano X, or another Ledger device, this page walks you through installation, configuration, and best security practices. Using the official website is critical, as it protects you from fake software, phishing attempts, and malicious downloads.
A Ledger hardware wallet stores your private keys offline, in what’s known as “cold storage.” This means your keys are never exposed to the internet, significantly reducing the risk of hacking. Even if your computer or smartphone is compromised, your crypto remains safe inside the Ledger device.
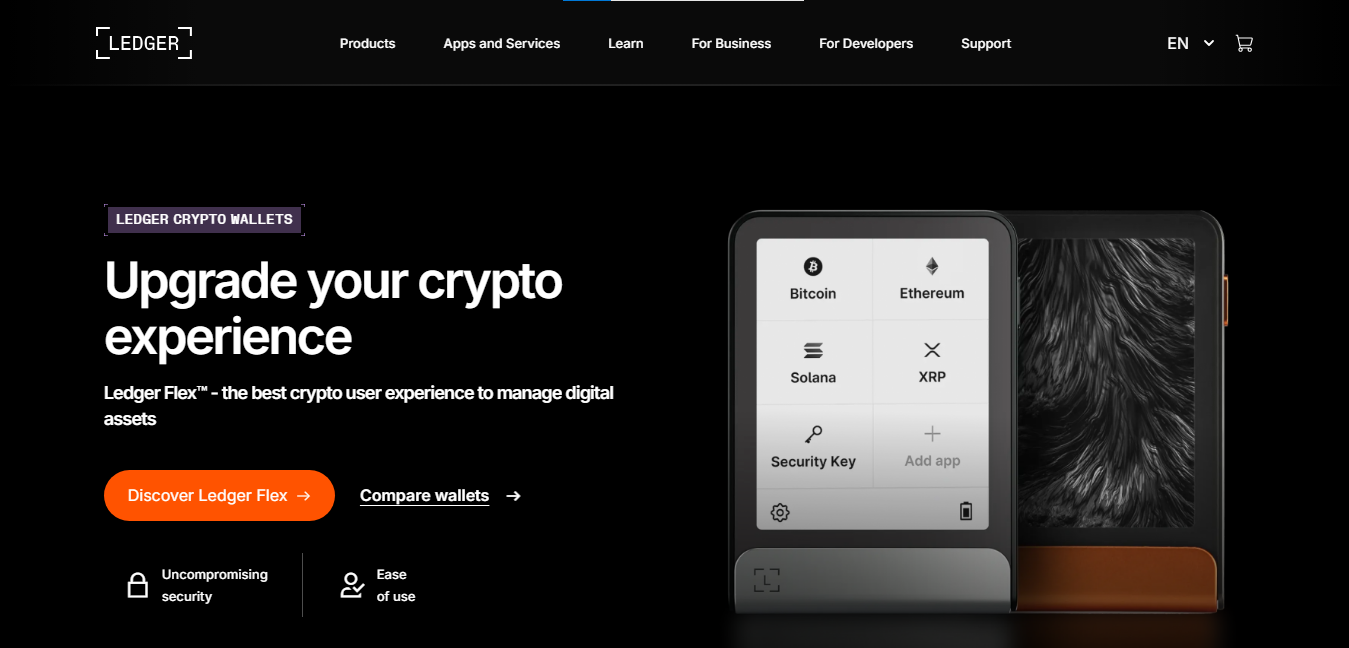
Ledger wallets support thousands of cryptocurrencies, including Bitcoin, Ethereum, and many popular altcoins. They also integrate seamlessly with decentralized applications (dApps) while maintaining a high level of security.
When you visit ledger.com/start, you’ll be guided through a clear, step-by-step process:
During setup, you’ll be asked whether you want to configure a new device or restore an existing one. New users should select “Set up as new device.”
Ledger.com/start emphasizes this step repeatedly—and for good reason. Your recovery phrase is the ultimate backup to your wallet.
Ledger Live automatically checks whether your device is genuine. This verification ensures that your hardware wallet has not been tampered with and is running authentic Ledger firmware. This step adds another layer of confidence before you begin managing assets.
After setup, Ledger Live becomes your main dashboard. From here, you can:
All transactions must be physically approved on your Ledger device, which prevents unauthorized transfers.
Ledger.com/start also educates users on essential security habits:
Ledger will never ask for your recovery phrase—ever.
Ledger.com/start is more than just a setup page; it’s the foundation of a secure crypto journey. By following the official instructions and best practices provided, users can confidently protect their digital assets from online threats and human error.
In a world where self-custody is becoming increasingly important, a Ledger hardware wallet—properly set up through ledger.com/start—offers peace of mind, control, and long-term security. Whether you’re a beginner or an experienced crypto user, starting the right way makes all the difference.